“From concept to creation, I bring ideas to life with a touch of innovation and a dash of creativity.”
Smart Measuring Tape
Smart Measuring Tape: A Complete Product Design Procedure Guide
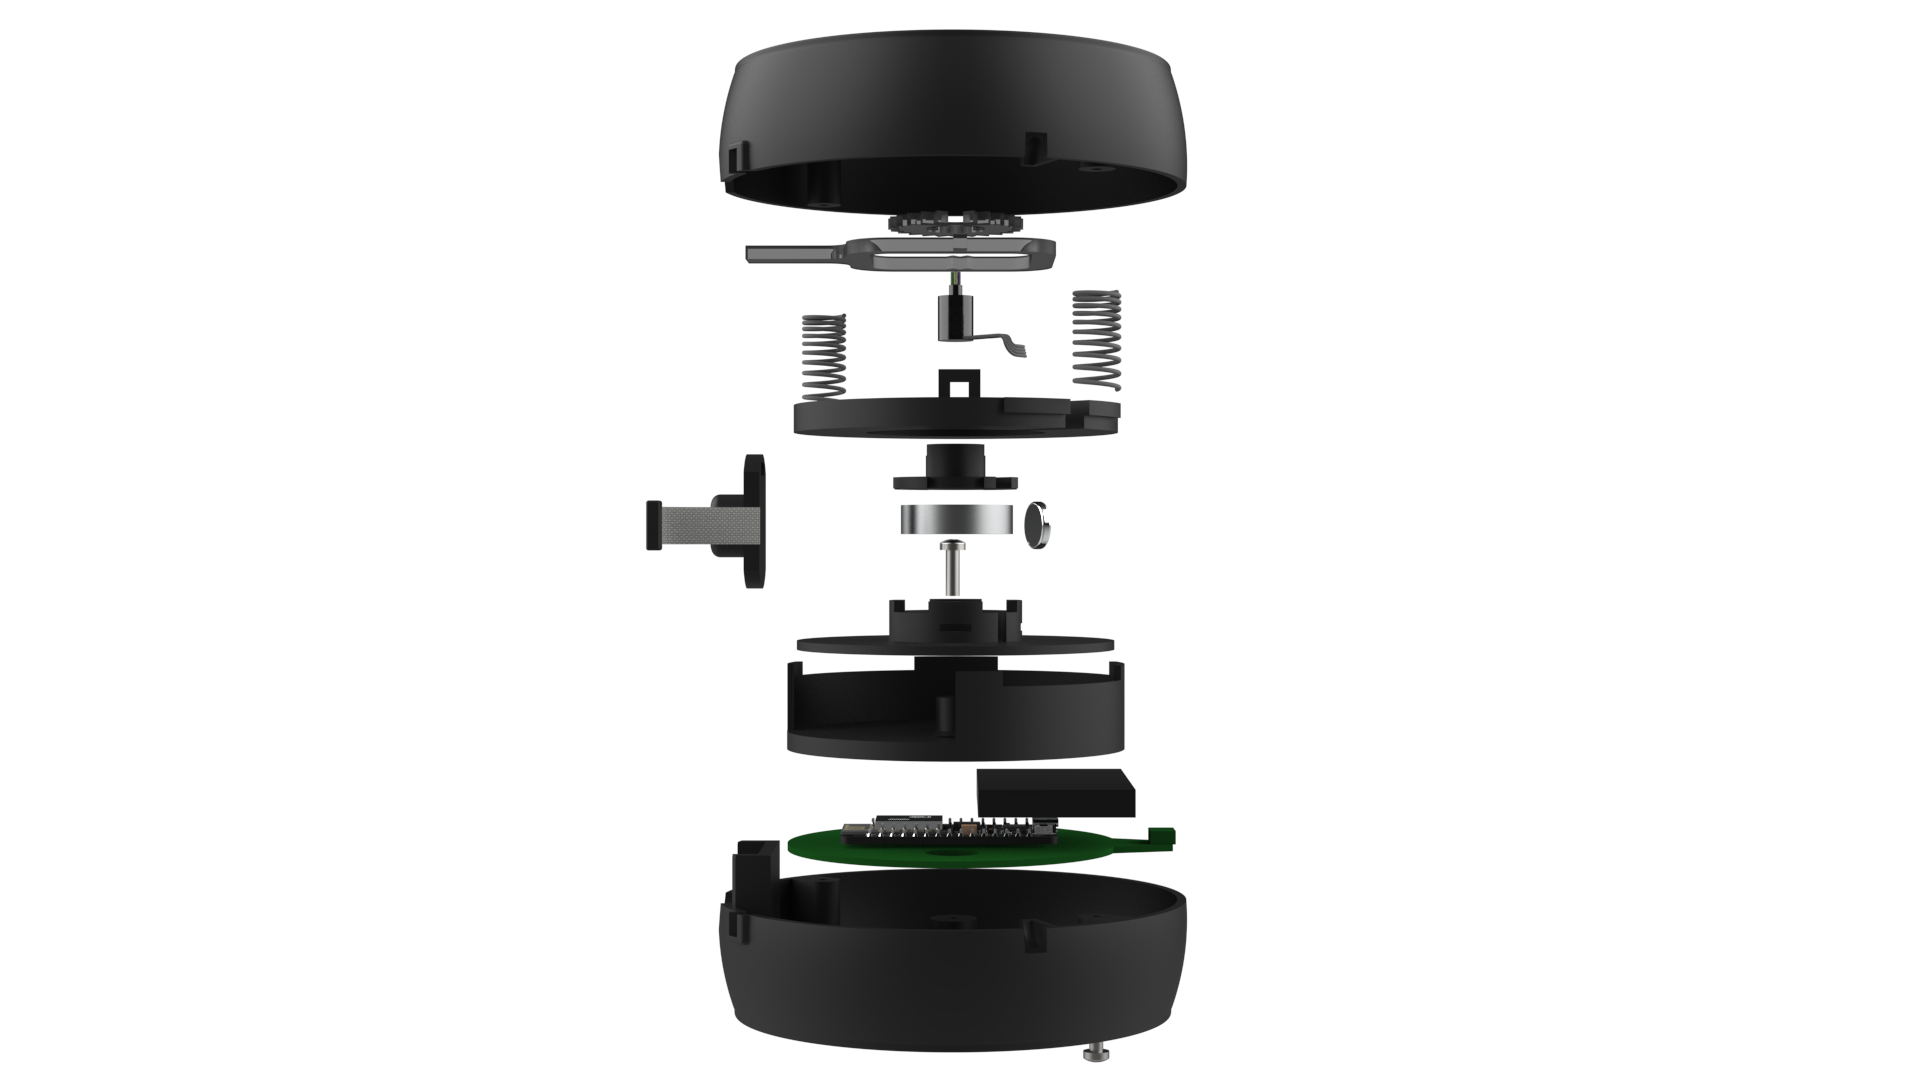
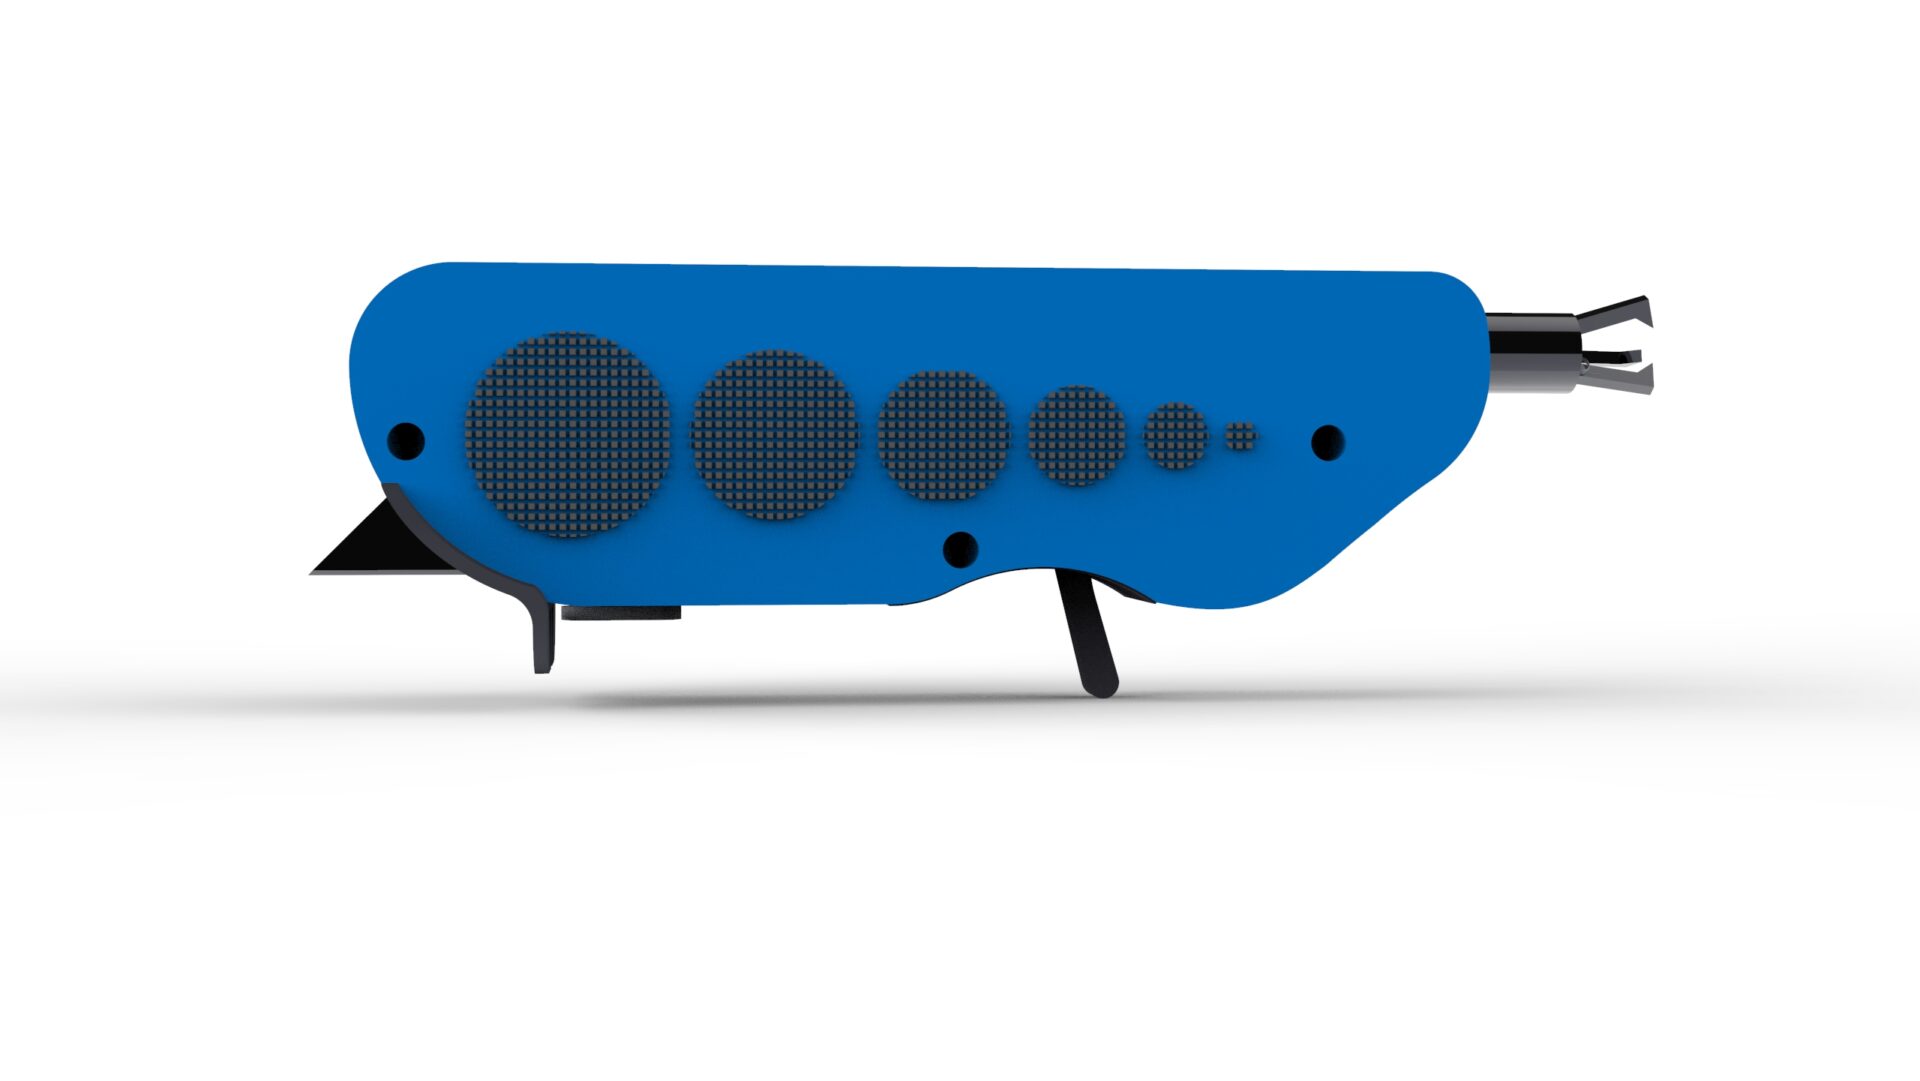
Are you curious about how a product goes from a sketch to a final 3D printed prototype? In this article, I will walk you through the complete product design procedure of a device named Smart Measuring Tape. This device was made for a US-based client, and it used RGB lights to indicate different measurements. It was connected to a phone using BLE, it was battery-powered, and it was primarily focused on online shoppers.
Understanding the Client’s Requirements
The first step in the product design procedure is to understand the client’s requirements. In this case, the US-based client needed a measuring tape that was accurate, easy to use, and could be connected to a phone for easy measurement management. The client also requested that the measuring tape be designed with RGB lights to indicate different measurements.
Sketching and Brainstorming
Once we understood the client’s requirements, we began sketching and brainstorming different ideas for the Smart Measuring Tape. We came up with various concepts and discussed them with the client until we landed on the final design. During this stage, we also considered the product’s functionality, usability, and aesthetics.

Designing the Initial Prototype
After the sketches and brainstorming stage, we proceeded to design the initial prototype of the Smart Measuring Tape. This prototype was designed using CAD software to create a 3D model of the measuring tape. This model was then 3D printed using a high-quality 3D printer.
Testing and Refinement
Once we had the initial prototype, we began testing the product’s functionality, usability, and accuracy. We also conducted focus groups to get feedback on the product’s aesthetics and design. Based on this feedback, we made several refinements to the design to make it more user-friendly and aesthetically pleasing.
Finalizing the Design
After the testing and refinement stage, we finalized the design of the Smart Measuring Tape. This design was then sent to the manufacturer for mass production.
Production and Quality Control
During the production stage, we worked closely with the manufacturer to ensure that the final product met the client’s specifications. We also conducted quality control checks to ensure that each unit met our standards for accuracy, functionality, and design.
Final 3D Printed Prototype
The final step in the product design procedure was to create a final 3D printed prototype of the Smart Measuring Tape. This prototype was used to verify that the design was correctly implemented and to conduct final testing of the product’s accuracy and functionality.
Conclusion
Designing a product from a sketch to a final 3D printed prototype is a complex process that requires careful planning, attention to detail, and collaboration with the client and manufacturer. By following the product design procedure outlined in this article, we were able to successfully design and produce the Smart Measuring Tape for our US-based client.
FAQs
- What is a measuring tape? A measuring tape is a flexible ruler that is used to measure the dimensions of an object or space.
- How does the Smart Measuring Tape work? The Smart Measuring Tape uses RGB lights to indicate different measurements, and it is connected to a phone using BLE.
- Who is the Smart Measuring Tape designed for? The Smart Measuring Tape is primarily focused on online shoppers who need to accurately measure objects for purchasing purposes.
- What materials were used to create the Smart Measuring Tape? The Smart Measuring Tape was designed using CAD software and 3D printed using a high-quality 3D printer.
- What is the advantage of using a Smart Measuring Tape over a traditional measuring tape? The Smart Measuring Tape offers the advantage of being able to easily connect to a phone for easy measurement management and accuracy verification.
Coal Vending Machine
Design of a Vending Machine for Dispensing Organic Coal
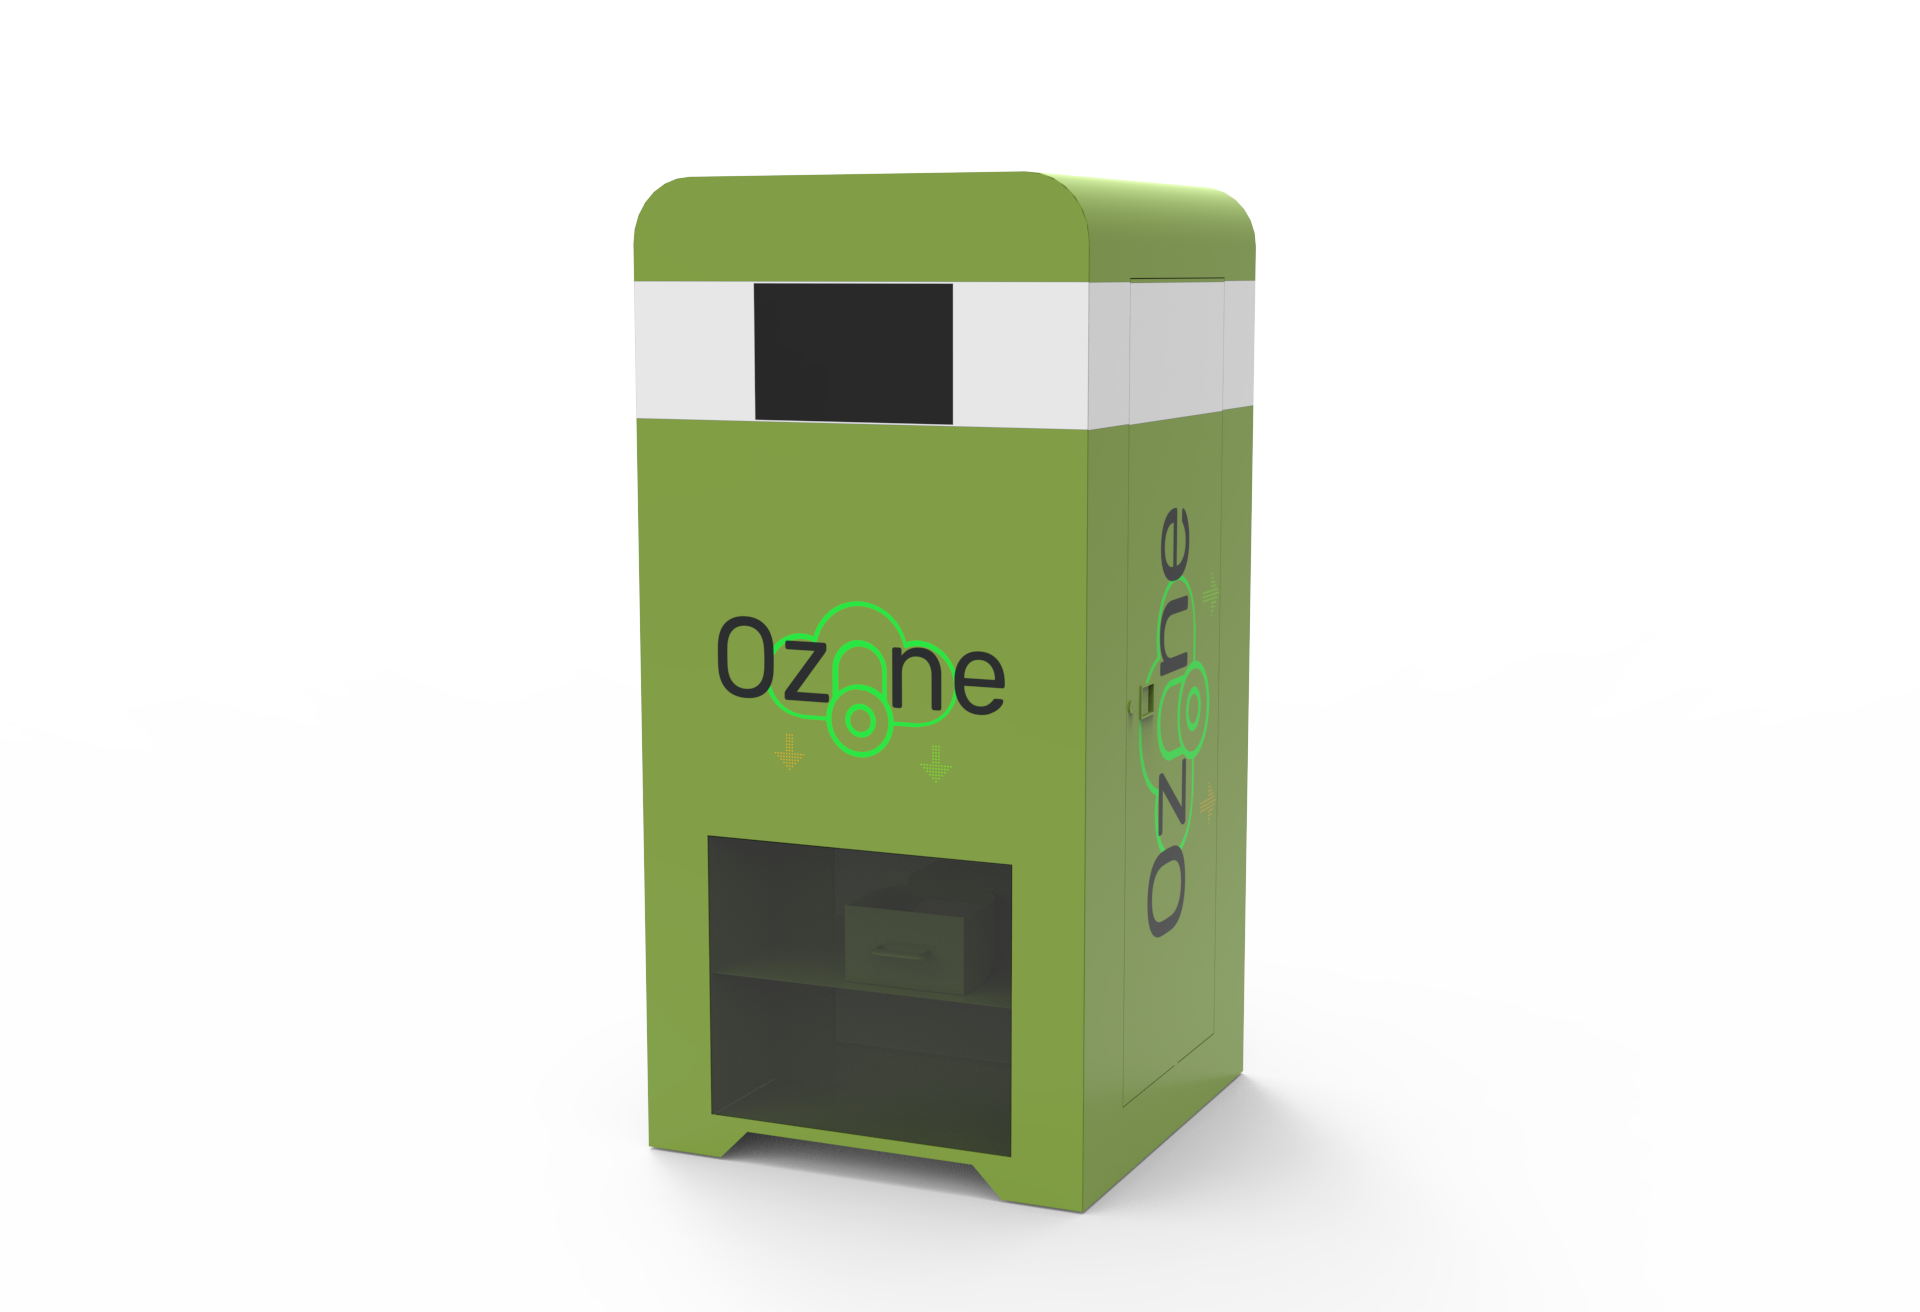
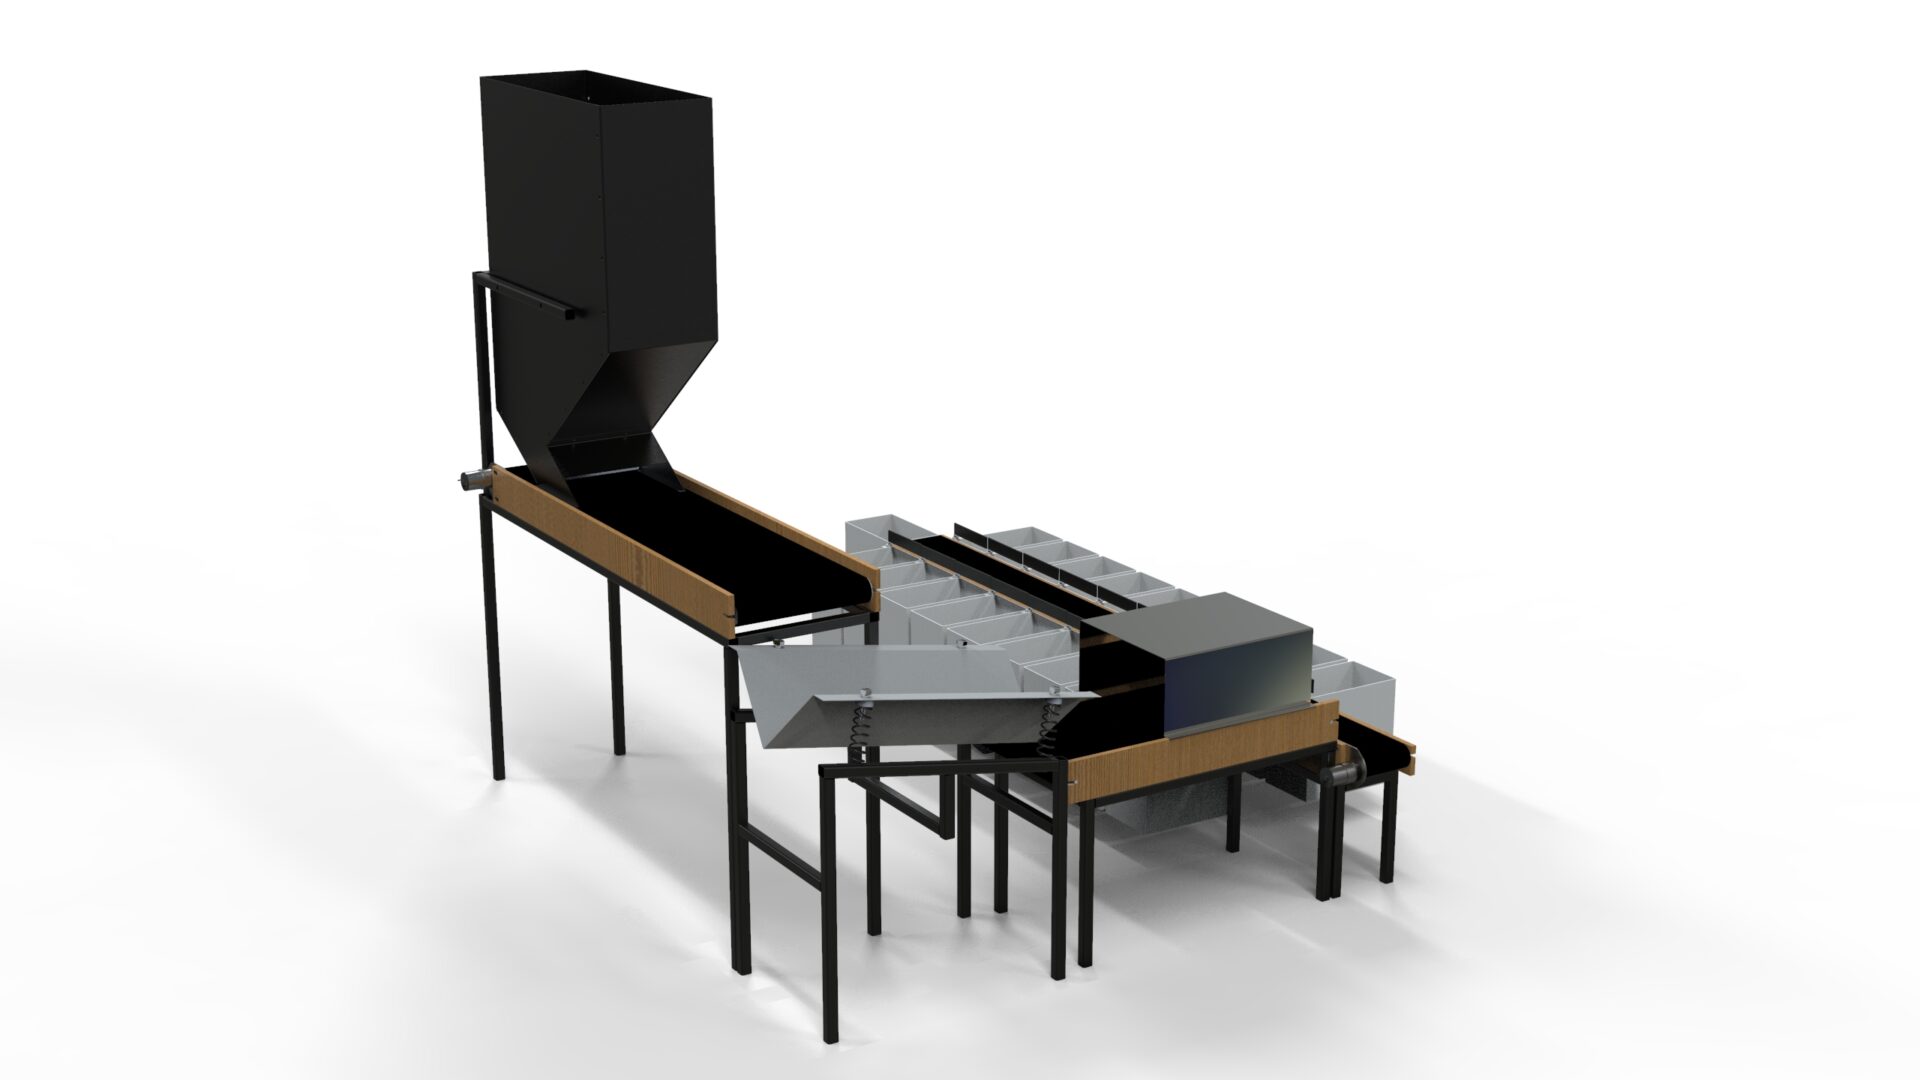
A vending machine is a self-service machine that dispenses a product to a user after the payment is made. The design of a vending machine should be able to dispense the product effectively and efficiently, while also providing a pleasant user experience. In this article, we will discuss the complete product design procedure of a vending machine that was designed for a UK-based client. This vending machine dispenses organic coal, and the customers can order it using a mobile app associated with the machine.
Mechanism Design and Sketches
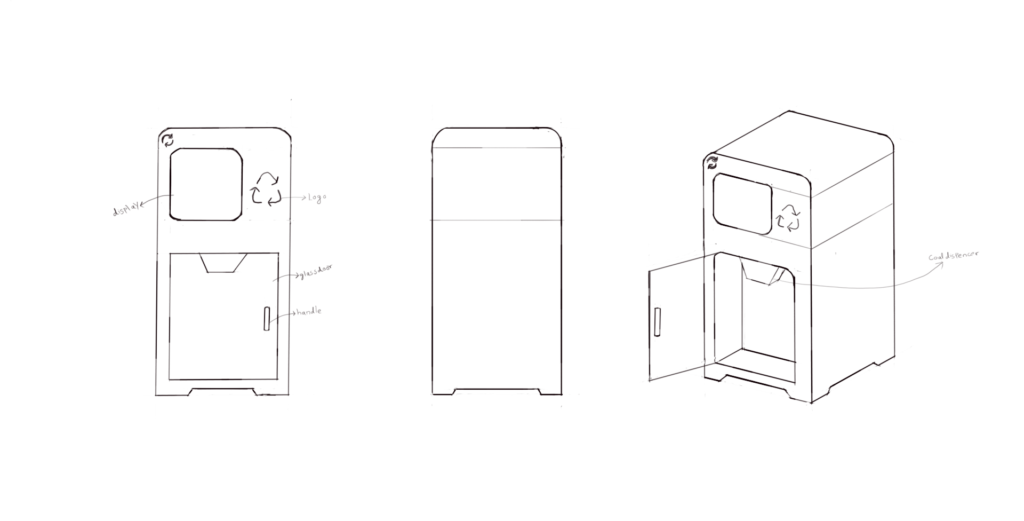
The first step in designing the vending machine was to create a mechanism design and sketches. The design team identified the requirements of the vending machine, such as the size of the product, the number of products that could be dispensed at a time, and the payment options available. Based on these requirements, the team created sketches of the vending machine, including the internal mechanism that would dispense the organic coal. The sketches helped the team to visualize the final product and identify any potential design issues.
CAD and Renderings
Once the sketches were approved, the team moved on to creating a 3D CAD model of the vending machine. The CAD model allowed the team to refine the design and make any necessary changes before moving to the next stage. The team also created renderings of the vending machine to give the client an idea of how the final product would look. The renderings helped the client to visualize the product and provide feedback to the design team.
Design for Manufacturing (DFM)
The design for manufacturing (DFM) stage involved creating a design that could be easily manufactured. The team considered factors such as material selection, assembly methods, and cost optimization. The team also worked closely with manufacturers to ensure that the design was feasible and could be manufactured without any issues. The DFM stage helped to identify any potential manufacturing issues and ensure that the final product could be manufactured at scale.
Prototype
Once the CAD model was finalized and the DFM stage was complete, the team moved on to creating a prototype of the vending machine. The prototype allowed the team to test the design and identify any potential issues. The team also conducted user testing to ensure that the vending machine provided a pleasant user experience. Based on the feedback received from the user testing, the team made any necessary changes before moving on to the final production stage.
Conclusion
In conclusion, the design of a vending machine for dispensing organic coal involved a complete product design procedure, starting from mechanism design and sketches, to CAD and renderings, DFM, and finally, the prototype. The design team worked closely with the client and manufacturers to ensure that the final product was feasible and could be manufactured at scale. The vending machine provides a convenient way for customers to order organic coal using a mobile app and has a user-friendly interface.
FAQs
- How does the vending machine dispense organic coal?
- The vending machine has an internal mechanism that dispenses the organic coal based on the customer’s order.
- How is payment made for the organic coal?
- Payment for the organic coal can be made through the mobile app associated with the vending machine.
- Is the vending machine easy to use?
- Yes, the vending machine has a user-friendly interface that makes it easy for customers to order organic coal.
- Can the vending machine be customized?
- Yes, the vending machine can be customized based on the client’s requirements.
- Is the organic coal dispensed by the vending machine environmentally friendly?
- Yes, the organic coal dispensed by the vending machine is environmentally friendly and sustainable.
Silicon Baby Feeder
Eyewear Design
MistBrella
ShoeCharms
MerchPro
AeroCharge Enclosures
Lego Sorting Machine
Client Reviews
Smart Speaker
Abu Rehan
Enclosure Design
“Awesome designer. Expert at CAD”
Thomas
Jar Design
“Syed did an incredible job, he was fast, accurate and helpful when it came to design suggestions. He also sent a prototype quickly and helped greatly with the project”

